
“Did you know that improper backpack packing is a leading cause of hiking injuries and trip abandonment? Mastering how to pack a backpack for hiking could mean the difference between a comfortable trek and a day filled with discomfort.”
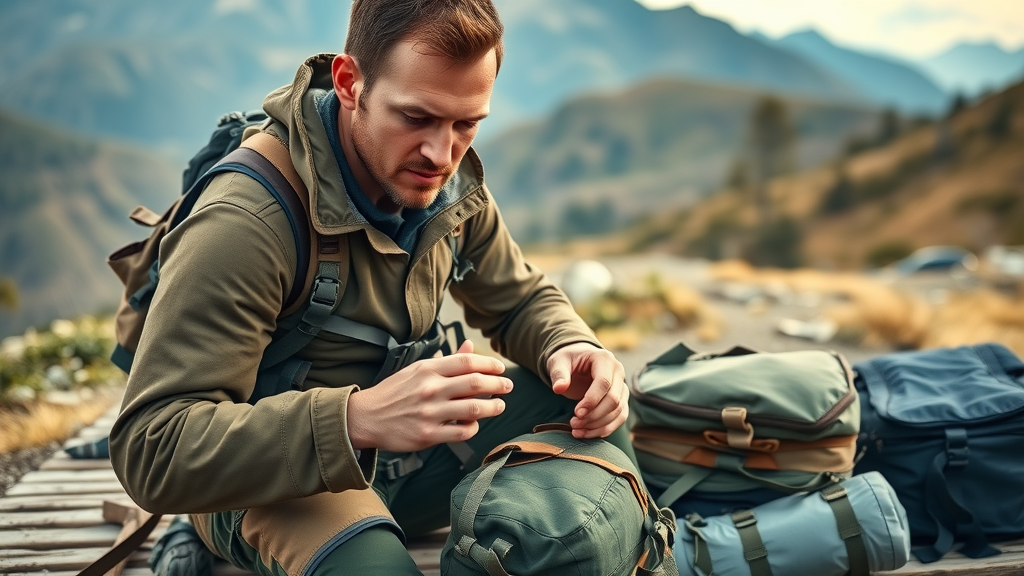
Few outdoor skills are more underestimated—and more essential—than learning how to pack a backpack for hiking . If you’ve ever struggled with a toppling load, sore shoulders, or the frantic search for a missing snack on the trail, you already know how critical proper pack organization is. Yet, despite so many guides on the topic, many hikers make the same mistakes, leading to physical strain, awkward walks, and even trips cut short. In this in-depth guide, you’ll discover how to organize your pack for speed, balance, and easy access, turning even the most challenging hike into a smoother, safer adventure.
Unlocking Peak Efficiency: Why Properly Packing a Backpack for Hiking Matters
The way you pack a backpack for hiking impacts every step on the trail—from your physical well-being to how quickly you can access essential gear. Neglecting pack organization not only causes uncomfortable hot spots and physical pain, it can also lead to instability over uneven terrain, risking sprains or falls. A well-packed backpacking pack helps you access critical gear like a rain jacket or water bottle without stopping, and it keeps your center of gravity close for better balance. The following list touches on the vital reasons that mastering how to pack a backpack for hiking really matters.
- Reduce physical strain and prevent injury
- Access critical gear faster
- Maintain stability on challenging terrain
- Enhance comfort for long-distance hikes
What You’ll Gain by Learning How to Pack a Backpack for Hiking
Gaining expertise in how to pack a backpack for hiking helps you hike smarter, not just harder. With a few practical techniques, your backpacking trip will feel more organized and effortless, ensuring you’re prepared for whatever nature throws at you. Not only will you benefit from step-by-step instructions for pack organization and accessibility, but you’ll also learn the science behind weight distribution, proper use of compression straps, and tips for maximizing your pack’s efficiency.
- Step-by-step instructions for pack organization and accessibility
- Expert tips for maintaining your center of gravity
- The science behind weight distribution and the role of compression straps
- Strategies for using your backpacking pack most efficiently
Essential Backpacking Pack Anatomy: The Building Blocks of a Balanced Load
To truly excel at how to pack a backpack for hiking , start by understanding the different sections of a backpacking pack . Each area serves a specific purpose, from the hip belt and its convenient pocket to the main compartment, front pocket, and side of your pack. Organizing your gear by zone ensures weight is distributed evenly and the items you need most are easy to access.
| Section | Purpose | Best for Storing |
|---|---|---|
| Top lid | Quick access | Maps, snacks, headlamp |
| Main compartment | Bulk storage | Sleeping bag, clothes |
| Side of your pack | Water/easy grab | Bottles, rain jacket |
| Hip belt pockets | Immediate access | Sunscreen, lip balm |
| Front compartment | Wet items | Rain cover, pack towel |
Key Principles: How to Pack a Backpack for Hiking for Speed and Balance
Mastering the key principles for how to pack a backpack for hiking is about more than just fitting all your gear inside your pack. To optimize performance, you must focus on weight distribution , the effective use of compression straps , and strategizing the placement of heavy and bulky items. The following principles are foundational for especially long trails or loaded backpacking trips :
- Distribute weight closest to your center of gravity
- Place heavy items mid-back and close to the spine
- Stuff bulky but lightweight gear on the bottom
- Use compression straps to cinch in side and top loads

Center of Gravity: Your Core Principle for Packing a Backpack
Understanding the Role of Center of Gravity in Pack a Backpack
When you pack a backpack for hiking, your center of gravity is the invisible line that determines comfort and stability. By placing heavy gear, like your food stash or cooking kit, close to your spine and mid-back, you help your backpacking pack move as one with your body. Misplacing gear, such as loading heavy items at the very bottom or far from your back, shifts your center of gravity away from your body’s core, leading to instability, sore muscles, and an increased risk of trips or tumbles.
- Why heavy gear should be close to your spine
- Impact of poor load placement on hiking posture
“A well-balanced backpack feels like an extension of your body, not a burden.”
How to Pack Your Backpack: Detailed Breakdown by Zones
Lower Zone: Base Layer for Bulky Lightweight Items
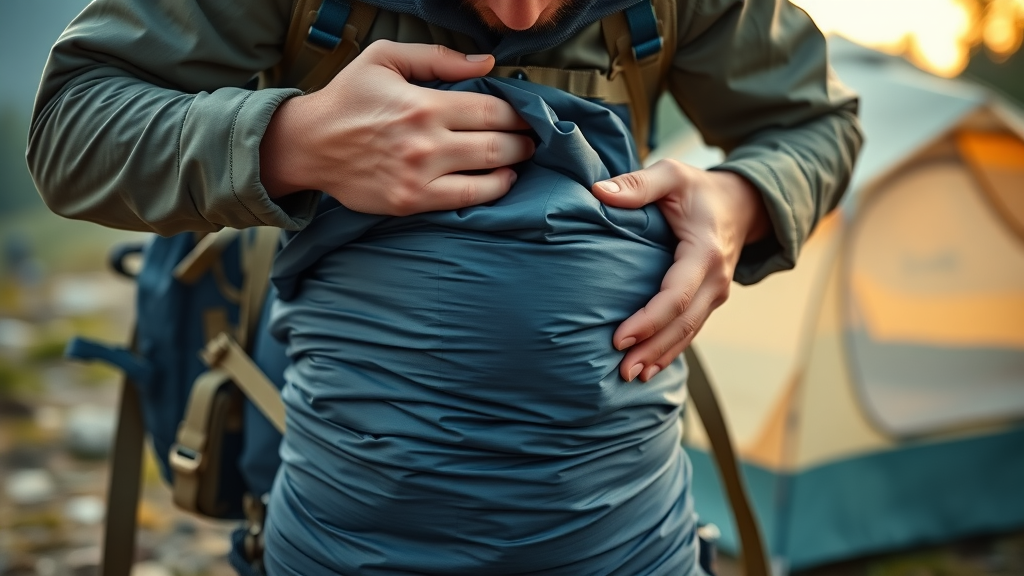
The bottom of your backpacking pack , known as the lower zone, is the right spot for bulky items that are lightweight but take up space. Items like your sleeping bag , stuff sack, camp clothes, and shoes should go here. These essentials aren’t needed until the end of the day and provide a stable base for heavier gear. Packing your sleeping bag in a dry bag helps it stay dry during a downpour, ensuring warmth and comfort when you reach camp. Secure everything snugly to avoid shifting on the trail, maximizing how you pack your backpack for a balanced hike.
- Sleeping bag in a dry bag
- Camp clothes and shoes
Core Zone: Heavy Essentials for Ideal Center of Gravity
Your pack’s middle, or core, is reserved for heavy items and essentials that maintain your center of gravity . Store food stashes (ideally in a dry bag), your cooking kit, and water reservoir here—keep these as close to your back as possible. Placing this weight here ensures the pack remains stable and comfortable, and reduces the likelihood of strain on your shoulders or lower back. If you’re carrying special items like avy gear, be sure to follow avalanche safety recommendations for placement.
- Food stash in dry bags
- Cooking kit
- Water reservoir (bladder)
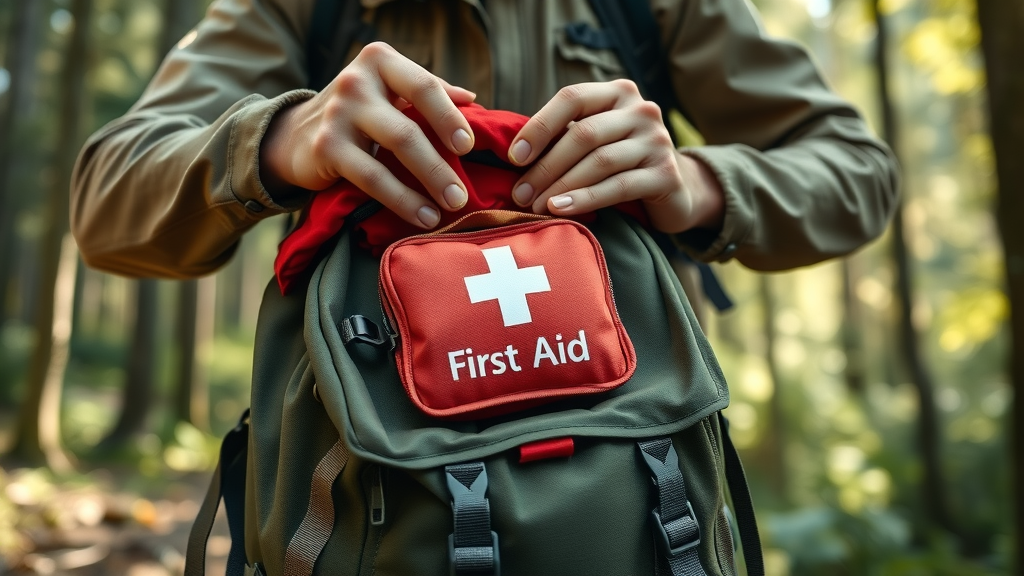
Upper Zone: Quick-Access and Sensitive Items
The upper zone and top lid of your backpack are meant for items you need to grab quickly, such as a jacket, fleece, toiletries, or first aid kit. This zone is also ideal for stashing small valuables or anything sensitive to crushing. Items here should be light, easy to access, and protected from the rest of your gear—using a pack cover in rain can help. Packing this way allows you to pull out your rain jacket, snacks, or navigation tools in seconds, keeping disruptions to a minimum even on a fast-paced day hike .
- Jacket/fleece
- Toiletries
- First aid kit
Mastering Compression Straps and Side of Your Pack for Enhanced Stability
Using Compression Straps for Secure and Balanced Packing
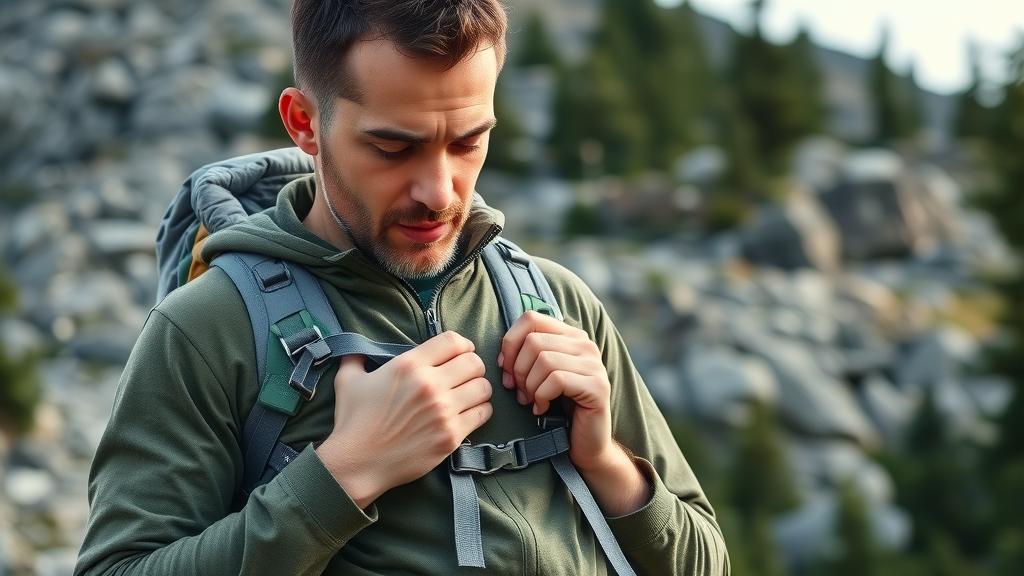
Compression straps are crucial for keeping your packed backpack tidy and stable. After loading your backpack, cinch the compression straps so your gear doesn’t move during your hike. A tightly cinched pack prevents contents from shifting, thus reducing fatigue and improved balance. It’s important to adjust these straps as your load changes (after eating or removing large items) to maintain comfort and keep your center of gravity close to your body. If your pack starts to feel lop-sided, stop and readjust.
- How to cinch down for minimal movement
- When to readjust compression straps
Optimal Use of Side of Your Pack Pockets
The side of your pack is ideal for frequently used and awkwardly shaped items. Stash water bottles, trekking poles, or wet tents/tarps in these pockets for quick, easy to access solutions. Keeping items on the side—especially heavier ones—can change the pack’s balance, so distribute them evenly on both sides. Consider using stuff sacks or a dry bag for anything that could get wet or lost easily when stored in these areas.
- Water bottles
- Trekking poles
- Wet tents or tarps
Hip Belt and Dry Bag Techniques for Comfort and Security
Utilizing the Hip Belt to Support Your Hiking Pack
The hip belt isn’t just a padded strap: it’s a critical load-bearing tool designed to take the weight off your shoulders and transfer it to your hips. Properly adjust your hip belt for a snug fit, ensuring the padded part wraps around the crest of your hips. Store small high-frequency items—a compact GPS device, sunscreen, lip balm, or snacks—in hip belt pockets for ultra-fast access. Routinely checking and readjusting your hip belt pocket along with your shoulder straps will further boost comfort for the entire hike.
- Positioning for maximum support
- Hip belt pocket essentials
Choosing and Packing with Dry Bags to Safeguard Your Gear
Backcountry conditions can change quickly, making dry bags an essential part of how to pack a backpack for hiking . Use different sizes and colors to group valuables and sensitive items such as electronics, food, and your sleeping bag, making them easy to grab and safeguarding them from rain or river crossings. A general rule: anything that would ruin your day if it got wet deserves a dedicated dry bag or stuff sack. Pack your dry bags in logical order according to how often you’ll need each one.
- Types of dry bags
- How to pack valuables and avoid water damage

Pro Tips: How to Pack a Backpack for Hiking Like a Seasoned Backpacker
Adopt these expert strategies for an ultra-efficient backpacking pack : First, leave unnecessary items at home—ask yourself if you used something last time, and if not, skip it. Pack items in the order you’ll use them as much as possible, ensuring anything you need mid-hike, like a water bottle or rain jacket, is easy to access . Finally, once your pack is loaded, lift it and walk a short distance; if it feels imbalanced, remove and rearrange items until the weight sits comfortably close to your back and at your center of gravity .
- Leave unnecessary items at home – stick to the essentials
- Pack in order of use
- Test your packed bag for balance
Addressing Common Concerns About Packing a Backpack for Hiking
What is the 20% Rule for Backpacking?
- Keep loaded pack weight at or under 20% of your body weight for optimal comfort and safety
As a general rule, don’t let your packed backpack exceed 20% of your body weight. An overloaded pack can cause fatigue, make balancing more difficult, and increase the risk of injury. Calculate your maximum based on this guideline before you even begin to pack your backpack.
Is it Better to Roll or Fold Clothes in a Backpack?
- Rolling minimizes wrinkles and maximizes space in your hiking bag
For most backpacking trips , rolling your clothes saves space, decreases wrinkles, and allows you to pack more efficiently, especially when using a stuff sack or dry bag. Rolling also makes it easier to see all your clothing at a glance and to grab specific items without disrupting your organized zones.
What Order Should I Pack My Hiking Bag?
- Pack your backpack bottom-up: lightest at the bottom, heaviest in the core, quick-access on top
Always pack your backpack starting with bulky lightweight items at the bottom (like your sleeping bag), put heavy gear (food, stove, water) in the center against your back, and keep things you need on-the-go at the top. This order helps you maintain proper balance and makes it easier to access your essentials during a day hike .
How to Arrange Things in a Hiking Bag?
- Categorize gear by function and frequency of use for strategic placement
Organize your hiking gear by grouping it based on when and how often you’ll need each item. Place high-frequency items in hip belt pockets or the side of your pack, and categorize other gear (cooking supplies, sleeping systems, clothing) so each stays in the ideal zone as described in this guide. This approach ensures a systematic and efficient method for every backpacking trip .
Frequently Asked Questions on How to Pack a Backpack for Hiking
- How do I keep my sleeping bag dry?
Always use a dry bag or waterproof stuff sack to protect your sleeping bag inside your backpacking pack. Even with a pack cover, rain and river crossings can soak through zippers—so double up with internal waterproofing for guaranteed dryness at the end of the day.
- What are the best practices for food packing?
Store food in odor-proof bags or a dedicated dry bag, and place it in your pack’s core for stability. Use smaller, easy-to-access snack bags in the top lid or hip belt pocket for fast energy boosts along the trail.
- How do I maintain balance if my pack feels off?
If your packed bag feels unbalanced, stop and redistribute gear so heavy items remain close to your back and centered vertically. Adjust compression straps and shift high-frequency items for greater comfort and steadier movement.
Expert Insights: Quotes from Experienced Backpackers on Backpacking Pack Organization
“Every extra ounce is a choice – trim down without sacrificing safety.”
“Repacking a backpack a few times is normal; finding your system is part of the journey.”

Quick Reference Table: Packing Your Backpack for Hiking at a Glance
| Zone | Main Items | Packing Tips |
|---|---|---|
| Lower (bottom) | Sleeping bag, base layers | Use dry bags, compress as much as possible |
| Center (core) | Food, stove, water | Keep close to your back for balance |
| Upper (top) | Jacket, first aid, snacks | Pack for quick access |
| Sides | Trekking poles, bottles | Easy grab and storage |
| Hip belt pockets | Sunscreen, GPS, keys | High-frequency use |
Checklist: Essential Steps to Pack a Backpack for Hiking
- Lay out all gear
- Group by use and weight
- Pack in recommended order
- Secure with compression straps
- Double check accessibility

Key Strategies for Adjusting On-the-Trail: Optimize How You Pack Your Backpack
- Shift load mid-hike to prevent strain
- Use compression straps to stabilize shifting items
- Rebalance if the pack feels uneven
As you hike, listen to your body. If you develop pressure points or fatigue, it may be time to redistribute your gear or adjust shoulder straps and your hip belt. Feel free to stop and tweak your pack—a few minutes of readjustment can make your backpacking trip far more enjoyable and injury-free.
Take the Next Step: Master How to Pack a Backpack for Hiking for Safer, Happier Trails
- Apply these packing strategies on your next hike for improved speed, balance, and accessibility
- Share your own tips and photos
- Explore advanced backpacking resources for continued learning
Equip yourself with these expert insights, hit the trail, and reap the benefits of a properly packed, balanced, and organized pack!
To enhance your understanding of efficient backpack packing, consider exploring these authoritative resources:
-
“How to Pack a Backpack for Hiking” by the American Hiking Society offers detailed guidance on weight distribution and accessibility, emphasizing the importance of placing heavier items close to your back and higher up in your pack to maintain a center of gravity. ( americanhiking.org )
-
“How to Pack a Backpack for Backpacking & Hiking” by REI provides expert advice on organizing your gear into specific zones within your pack, ensuring a balanced load and easy access to essentials. ( rei.com )
These resources will equip you with practical strategies to optimize your backpack’s organization, enhancing comfort and efficiency on your hiking adventures.